
Come Curious. Leave Knowing Why It Matters
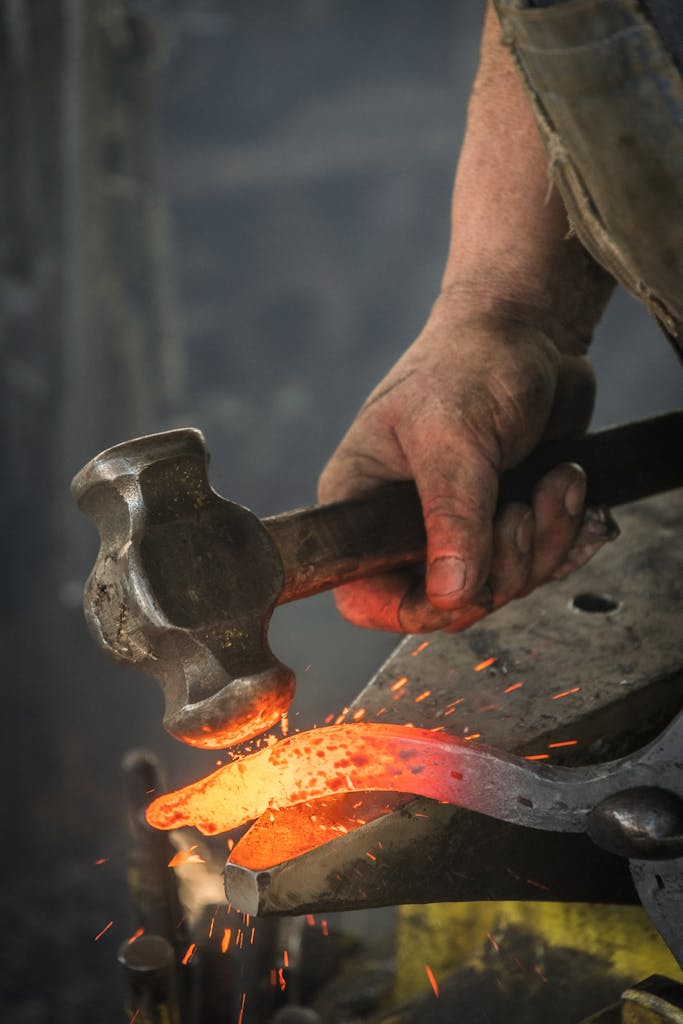
Ever bought a pair of earrings and wondered why your ears turned red? Or why your favorite kitchen knife dulled faster than expected? That’s where this site begins right at the point of curiosity. I’m Emory Walker, and I’ve spent a lifetime working with metals first in jewelry, then in all the odd places metals show up in daily life. What started as handcrafting Celtic designs in my teen years turned into something deeper: a fascination with what metal is actually doing.
Here, we break down what people usually don’t ask because no one ever taught them to. What’s the difference between surgical steel and stainless? Why does some “silver” leave green stains? And what exactly is an alloy?
We don’t believe in fluff. We believe in materials that matter and honest answers to real questions. Whether you’re dealing with skin sensitivity, comparing cookware, or just plain wondering why a ring feels different than it looks, this is your space to figure it out.
Your questions aren’t too small. The answers are just too rarely shared.
This Isn’t About Shine. It’s About What’s Underneath
Metal has a way of distracting us with polish. But once you get past the gleam, things get interesting. That’s something I’ve learned over years at the workbench some of the most expensive-looking pieces I’ve handled were the least reliable. And some of the plainest metals? Quietly brilliant in what they could do.
Here, we shift the spotlight away from aesthetics. We go deep into why metals behave the way they do. Ever wondered why your bike frame doesn’t rust but your garden tools do? Or why that titanium wedding ring you loved was practically weightless? Those aren’t accidents. They’re material choices that speak louder than marketing buzzwords.
We don’t sell solutions. We explain them. So you can make your own, informed decisions whether you’re choosing jewelry, planning a home project, or shopping for someone with a metal allergy. We’re not here to tell you what to buy. We’re here to help you know what you’re dealing with.
Not every metal is what it seems and that’s exactly why we’re here.
Meet Emory Walker
The Craftsman Behind Walker Metal Smith
Some people see metal. I see memory, purpose, and sometimes…problems worth solving.
I’m Emory Walker. I started with Celtic rings. Not mass-produced molds, but hand-carved pieces built to last. Over time, I began noticing something strange people cared more about how metal looked than what it was. Reactions, durability, even symbolism these were afterthoughts. And I couldn’t let that go.
This site was built for the curious, the allergic, the cautious, and the fascinated. You’ll find stories here, sure, but also science. You’ll see comparisons, not endorsements. Because I’ve worked with nearly every common metal in the craft, I know what to recommend and what to avoid.
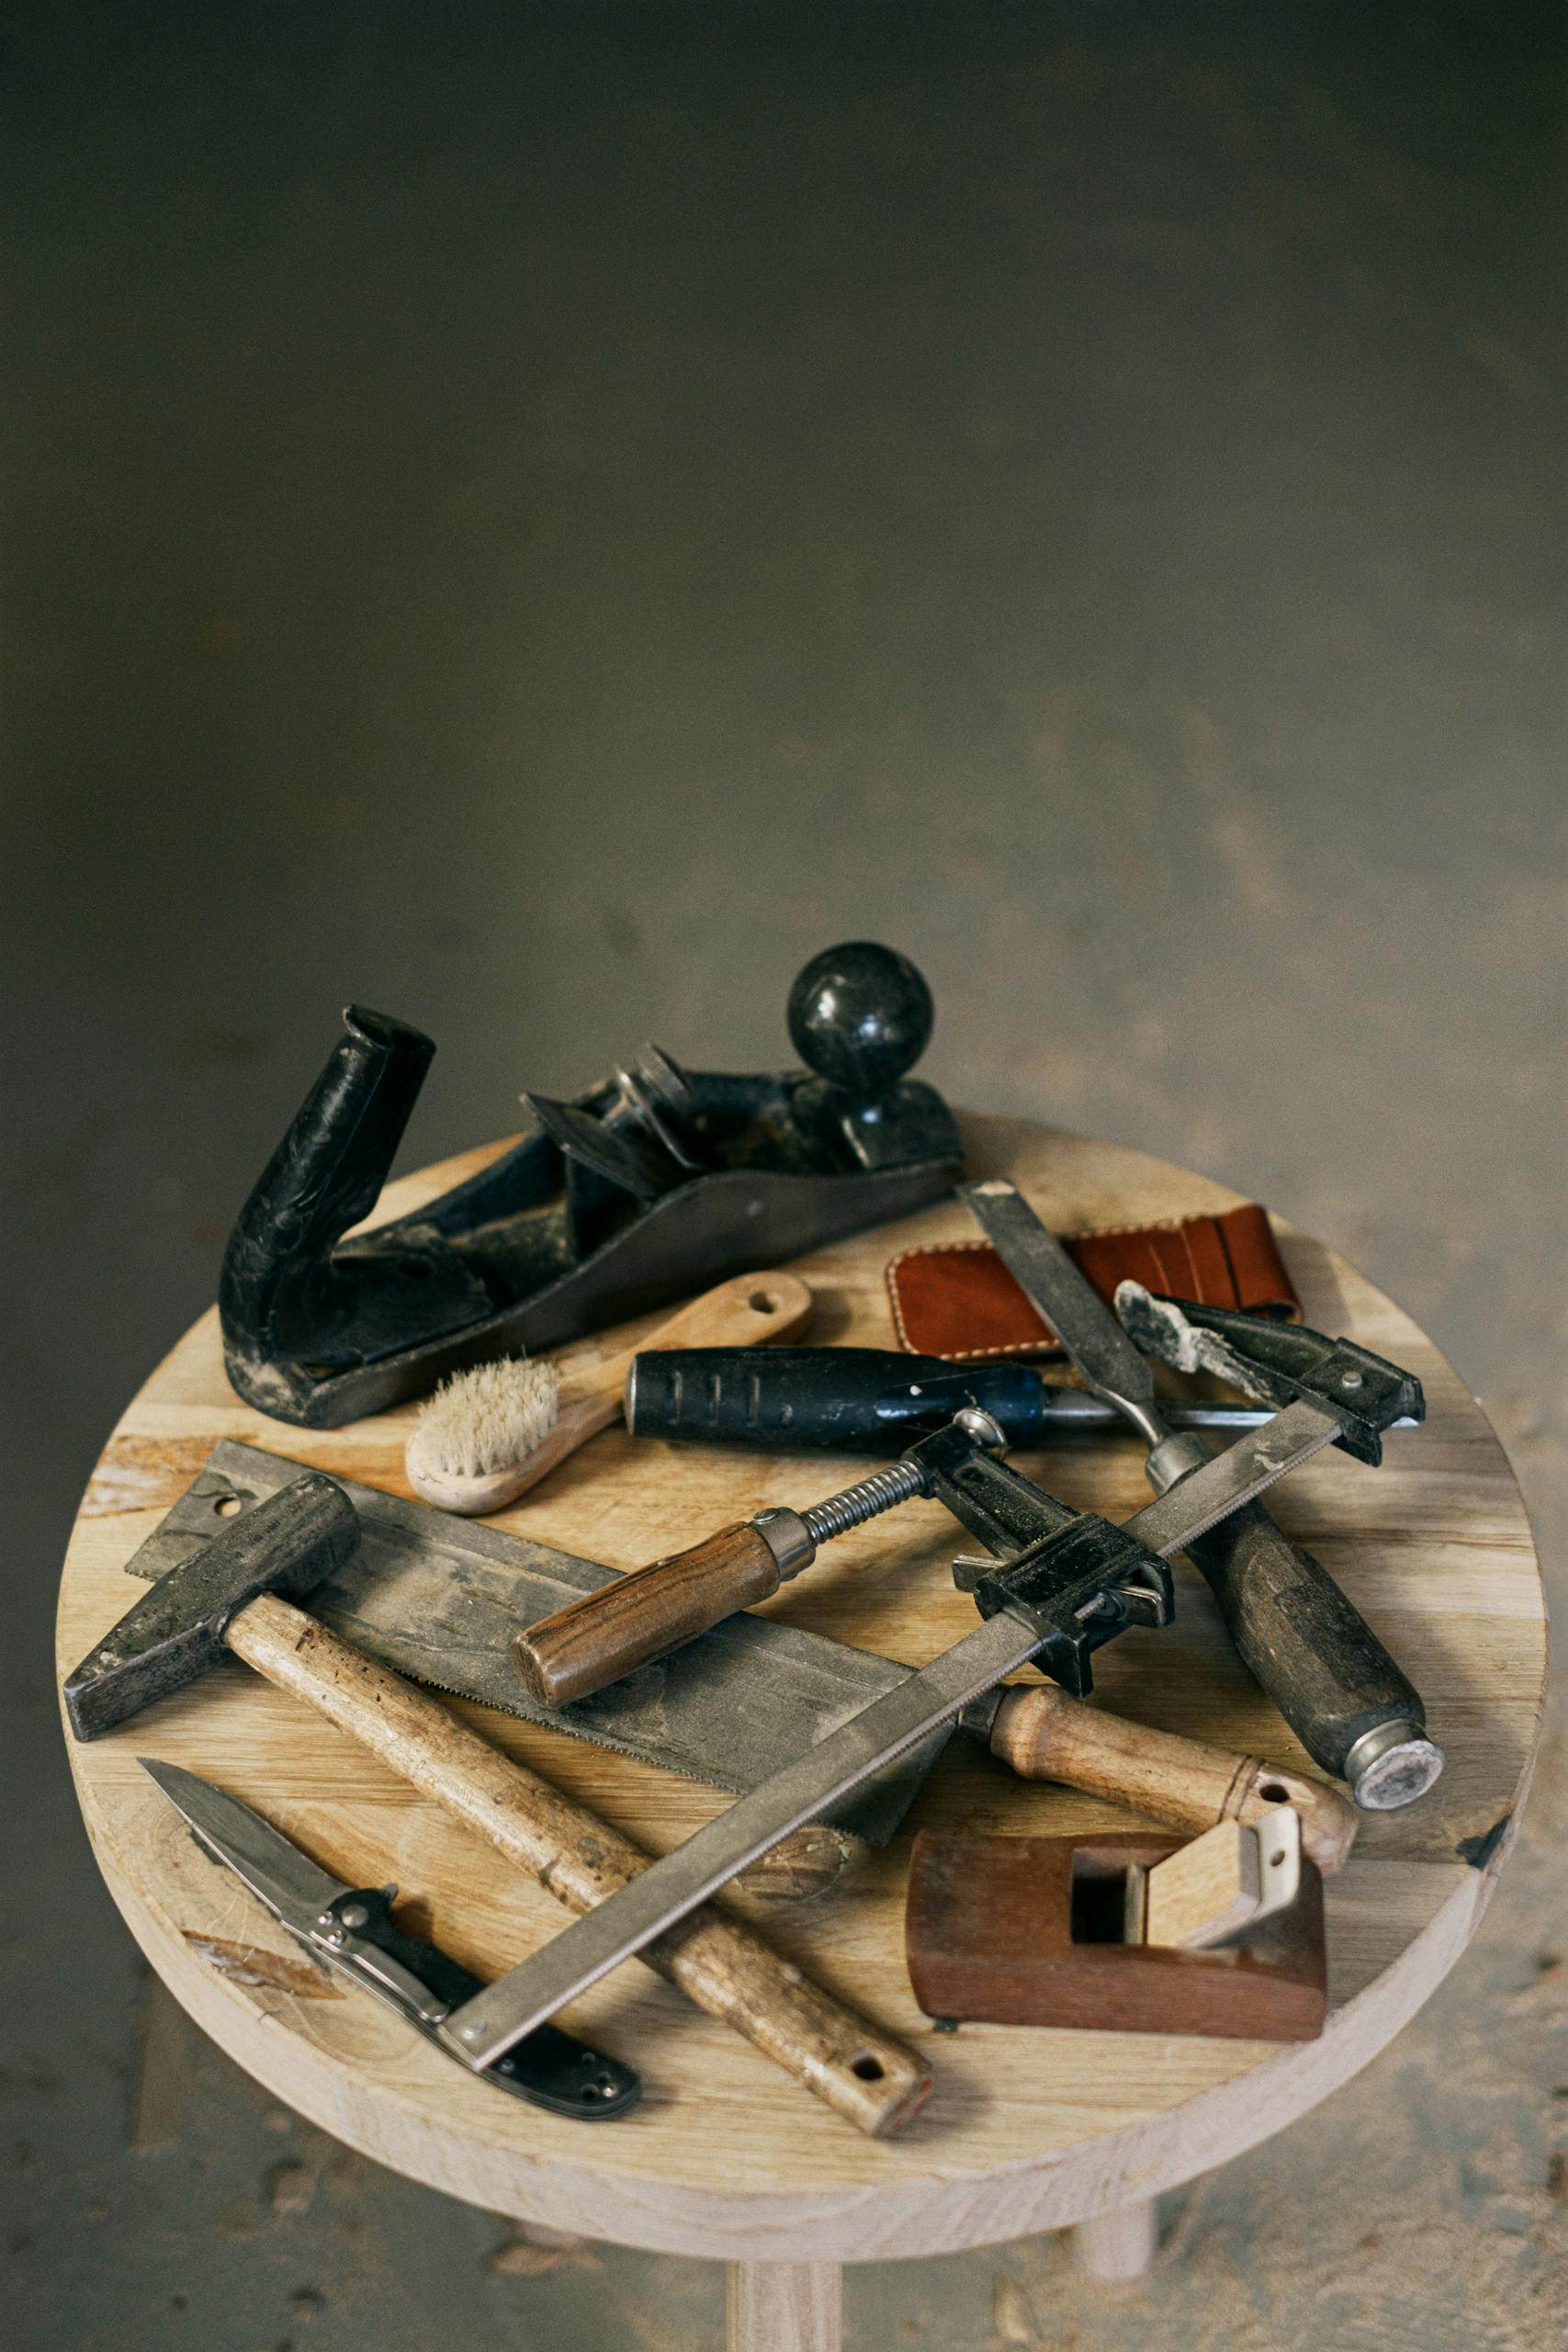
Think of this place not as a gallery, but as a well-lit workspace. You don’t have to be a jeweler to care about materials. You just have to wear them, touch them, or buy them for someone else. And if that’s you? Then I built this for you.

What Have We Covered In This Blog?
What Strength Really Looks Like
We explore the strength behind the surface unpacking what makes certain materials last, bend, or break. From everyday tools to overlooked wearables, we investigate how structure and composition silently shape your world.
When Time Tests Metal
Ever noticed how some objects age beautifully, while others corrode or snap? We decode those differences, covering everything from rust myths to reusability helping you choose smarter and think longer-term in a throwaway world.
Numbers You Can Feel
You’ll find clarity here from confusing jargon to misleading labels. We compare density, durability, heat resistance, and weight so you know what works best in daily life, from the kitchen to your workshop.
Skin Meets Science
Not all materials play nice with skin. We dive into the real-world effects of what we touch and wear, helping you avoid reactivity, discomfort, and long-term exposure to things your body may not agree with.
Metals Don’t Lie. We Just Help You Understand Them
If metal had a voice, it would speak in conductivity, corrosion resistance, weight, and wear. And the truth is, it’s already talking you just need someone to interpret. That’s where I come in. My name’s Emory Walker, and I’ve made a career out of shaping metals and, more recently, explaining them.
This site is built to take out the guesswork. Not with generic advice, but with grounded guidance rooted in metallurgy, experience, and hands-on learning. You’ll find real talk about what metals work best for skin sensitivity, which ones last longer in rough environments, and why some types are better left for industry use than daily wear.
We cover everything from the pros and cons of popular materials to niche alloys most people have never heard of. If you’ve ever looked at a label and thought, “Is this good or bad?” you’re not alone. And you’re exactly who we made this for.
You don’t need a lab to understand metal. Just the right lens.
Why Walker Metal Smith Is Different
Most sites talk about metal like it’s only for experts or industries. We don’t. Here, you’ll find real explanations for real people whether you’re dealing with metal sensitivity, curious about durability, or just want to make smarter choices. It’s honest, hands-on knowledge from someone who’s worked with metal, not just written about it.
Categories We’ve Covered
Foundational yet reactive, iron plays a major role in construction, history, and design. We break down its strengths, vulnerabilities, and how it paved the way for stronger alloys.
Popular for good reason, stainless steel resists rust, stains, and time. Explore its grades, performance in wearables, and why it’s trusted in both homes and hospitals.
Exceptionally light yet practical, aluminum finds its way into tech, packaging. We unpack its recyclability & surprising versatility across modern materials.
Known for heat retention and raw durability, cast iron goes beyond the skillet. We cover care tips, corrosion myths, and what makes it timeless in function and form.
Lightweight, hypoallergenic & famously strong, this category explores titanium’s role in modern aerospace tech & sensitive skin users alike.
Conductive, antimicrobial, and full of character, copper holds surprising value in everyday life. Discover its beauty, common uses, and why it changes color over time.
Light, reactive, and energy-dense, lithium powers our digital world. In this category, we explore its chemistry, usage in batteries, and environmental conversations surrounding its extraction.
Harder than most metals, tungsten offers weight, resilience, and industrial strength. We will dig into why this metal is chosen for rings, machinery, and demanding high-heat applications.
Often underrated and overlooked, zinc plays key roles in health, plating, and manufacturing. Learn where this metal hides, how it protects other metals, and why it’s essential yet often overlooked.
A historic blend of copper and tin, bronze resists wear and weather alike. Here, we examine its legacy in tools, art, and how it handles the elements today.
Magnetic, durable, and often hidden in plain sight, nickel is everywhere from coins to alloys. We look at its utility, reactivity, and its role in skin irritation.
From strength boosts to corrosion control, we explain what happens when elements combine & why most of what we use today isn’t pure metal.